Showing posts with label tap root. Show all posts

Wednesday, June 22, 2016

Kapok Ceiba Pentandra, separating seedlings and removing tap roots


A few people have been planting kapok seeds. Last year I planted a few. The growth rate of these trees was phenomenal. I forgot exactly when I planted these seeds. It was sometime last month. As you can see the first true leaves are pretty big on some.


silk tree Ceiba pentandra seedling

I soaked the seeds until the water started turning cloudy. I have grown kapok seeds in only water before. I kept them in a little saucer and made sure the water stayed clean, and that the water only came up halfway to the seed. For these seeds pictured below however, I planted straight in a one gallon plastic pot.


My hand for scale

It is easy to break up the individual plants at this stage. The roots are growing long, but the fine roots have not grown enough to tangle themselves with each other.


ceiba pentandra, silk tree

I prune the roots of my kapok. Why? I do not want a huge tap root. I cut the lengths according to the size of the tree and the amount of fine roots. The longer and the more fine roots the more I cut.


This was one of the bigger seedlings and I cut just above the halfway point of the root.


I potted the plant with a blend of coconut husk, peat moss, and some soil with coarse sand.

ceiba pentandra seedling

The big trunk in front is approximately one year older than the seedlings behind it. Cutting roots stunts development for a time. Yet, you can see that the kapok is an aggressive grower. I have been working on these trees this last year. If you want to see my expiraments check out my other post: http://bonsai-misadventures.blogspot.com/2016/04/kapok-silk-tree-pre-bonsai-experiments.html
Cheers.   


Tuesday, March 8, 2016

Spring time root pruning time.

Spring time, many plants have laid dormant for winter and now they're ready to emerge. On a past post I have shown you how i cut the tap roots off of seedlings. This post is about removing the tap roots from yearlings. The big difference is that I will not use any rooting hormone nor will I use a sandy middle (see:http://bonsai-misadventures.blogspot.com/2016/02/cedar-of-lebanon-cedrus-libani-cutting.html ) to place the plant in. Why am i cutting the tap roots? Tap roots are anchors. They grow long and deep. This is not good for plants living in pots. So, to promote a radial root pattern we remove tap roots. Important: do not let the roots dry out. Try to cut the roots during a cool time of the day. Have some water handy to dunk or spray the roots.

These are Osage orange. These trees were very prolific in the last ice age. The megafauna would eat the fruits and disperse the seeds. I don't know if any animal eats the fruits anymore. No animals munching on the fruit, no animal planting its seeds all over the place. Osage orange was also an important tree for the inhabitants of of the united states precolumbian arrival. The wood is great for making bows.

Enough about non bonsai related topics. All these Osage orange were planted from seed in the same pot. To start we watered the pot. Then we pulled the plants and soil out of the pot. We massaged the soil softly until it all fell off. Then we untangled the roots. You can probably skip the untangling part. I untangled it so I can take a clearer picture. You can just go right ahead and snip the excess root.


To know where you should cut is easy. Cut an inch to two inches under the soil line. That is under where the plant grew out of the soil.


  Now repot the plants and watch them grow. Cutting the roots is going to slow growth for a short time. The plant has to grow enough root to feed any new growth.  


These osage orange were sown in late spring. I don't believe they reached their full potential for last year.  But this year they’ll get sun, some water, and a little blood meal and they should stretch out.

These Acorns I harvested in early October. I planted them a week later. Three weeks after They were popping out of the dirt. They grew all winter here in sunny southern CA. Now in March they have grown about five inches. The procedures are the same as they are for the Osage Orange. Cut an inch to two inches below the acorn.

 Oak tap roots grow straight down and because they didn't have anywhere to go just started to spin around and they all got tangled.


 Here they are after the roots got chopped.


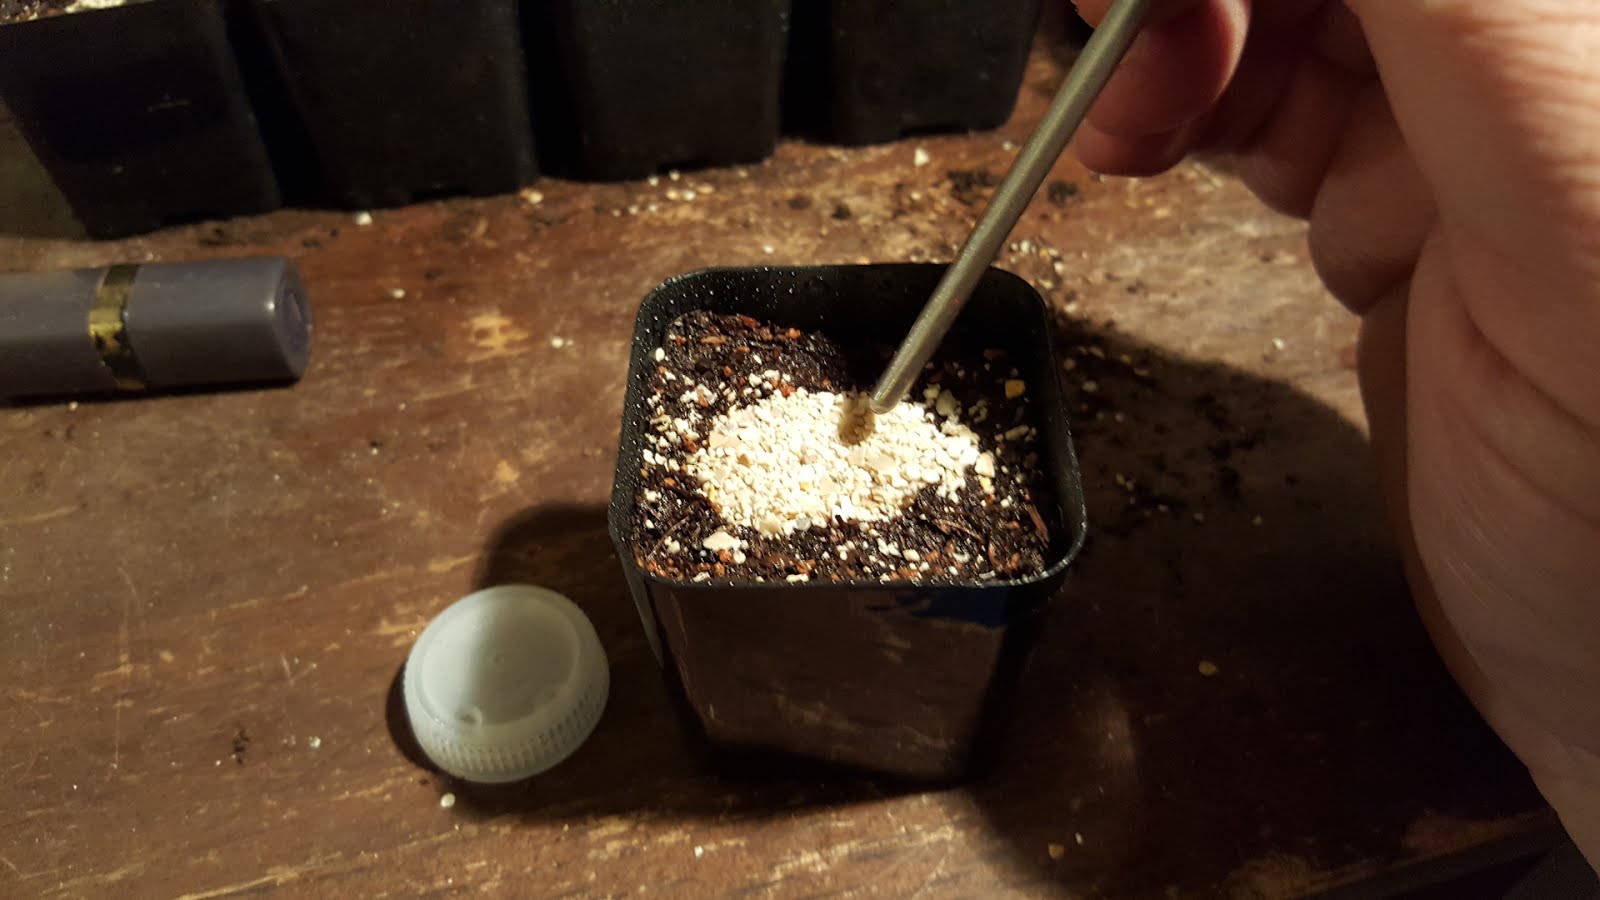
 The soil mix is 50% organic 50% inorganic, sand turface and fine volcanic rock.


 That's it for this batch of Oaks I have 3 more pots to do.


 This was the longest Oak seedling that I found.
 It measured about two feet.


Cheers 

Update 04/07/2016

I have lost a few of the oak trees. I pruned some cork oak right after and they are doing fine. I believe that i waited much to long to prune the Live oak. All the cork oak were much smaller than the live oak. The live oak that were smaller are doing great. 


Thursday, February 4, 2016

Cedar of Lebanon (Cedrus libani) Cutting the tap root

     Let me start with the disclaimer: The following is something that is done with Japanese Black Pine. This is my first attempt at cutting the tap root off of a seedling. I saw this on bonsaitonight.com and in Bonsai Today issue 20. These are Cedar of lebanon. They have been growing them for approximately 8 weeks. I don't know if this technique is appropriate for this species, but I thought what the hey, let's go for it. The reason that the tap root will be removed is to stop the root from growing super long as this will lead to the root coiling around the pot. Tap roots are anchors for the tree. They grow deep and thick so that the tree can grow big and tall. However, since these seedlings will live in a pot we do not want a long tap root. After the roots are removed what will hopefully happen is that the new roots will grow in a radial pattern and develop into radial "nebari". What does nebari mean? I looked it up and it literally means stickiness. In Japanese words meaning change according to context. So, here in the realm of bonsai nebari refers to the thick roots that pop out of the surface like an old tree. After I sever the tap root it will be dipped in rooting hormone. Then, they will be placed in 2x2 plastic pots where they will all survive and grow to be exceptional bonsai with the greatest nebari ever. Scenario two, I'll be happy if half of them survive the tap root ectomy.  

2x2 inch pots
     First thing first I used coarse organic material to plug up the holes in the bottom. The layer was deep enough to just cover the holes. I use organic material to retain moisture. Here in sunny dry southern California I need to battle evaporation. This is especially true with these tiny pots as they do not hold much water. It's early February and the weather forecast for this weekend is for the low 80's F. I do not know if I will have time to water these plants three times a day. 

organic material base

     In the middle I placed one of my wife's lipsticks. Then a 60/40 mix of organic material and sand was added around the lipstick. I did not pat the dirt down. Its loosey goosey. 

Lipstick as a space holder

     This is what it looks like after the lipstick is removed. The mix was moist so it held its shape very well. 

Hole in the middle

     I added some fine sand made from shells and other invertebrates. I used this sand because I couldn't find river sand. I found a 5lbs. bag of this particular sand at a local pet shop. The sand is made of crushed shells and other things. I guess i should have bothered to read the label. The material is very light.   
Sand in the Hole

     This is what it looked like after all the pots were filled.

Half way done

     The spray bottle is to keep the sand sticky so that a hole can be punched through the middle. 

Moisturize

    This is a small paint brush. It is the perfect thickness for the cedar of lebanon. I pressed it down the middle about half way. 

Poking Holes


This is the rooting hormone. After the tap roots are cut off the seedlings will be dipped in this.

Rooting Hormone

     I still had time to change my mind and pot the seedling. If you notice the root which i believe is the bit after the white spot about halfway down the plant is very long. 

Before

     No guts no glory. Razor blades would have been better I suppose. I used some shears to sever the root. 

Trim 
A dip in the rooting hormone. Then the excess powder was blown off.

Rooting hormone
the seedling is placed in the hole. then the pot is watered again so that the sand closes around the stem.

Insert here
The seedlings are placed outside in a shady area. It is important to keep them out of the wind also. Now it is a waiting game. When will the new roots start growing? 
The end