Showing posts with label bonsai trees for beginners. Show all posts

Friday, February 9, 2018

Growing ficus religiosa and benghalensis from seed in cooler climates

I have had much success with growing ficus macrophylla from seed. The weather here in Los Angeles is warm enough to germinate the seeds. The seeds grow even better during one of our many heat waves during the summer (here is the link http://bonsai-misadventures.blogspot.com/2016/03/grow-fig-tree-from-seed-moreton-bay.html).


Los Angeles is many things both good and bad, but it is not hot enough to germinate Ficus religiosa the bodhi tree and Ficus benghalensis the Indian banyan. I have had success  growing each on two different attempts. The first, I put some dirt in a thin plastic ferrero rocher box. It was very shallow and I left it on the window sill when I lived in Pomona. Pomona is 50 miles from the ocean and is much hotter than where I grew up and now currently live, Inglewood. During a very hot heatwave near 100f I noticed that all the f benghalensis seeds had sprouted. It looked like a carpet of microgreens. I was happy and if I had known then that I was not going to germinate that ficus again I would have taken better care of them. I lost them all.

Last year I tried my hand a Ficus religiosa. I used a heat lamp to grow those. It did work. It was not a carpet like the indian banyan, but I took what I can get. My mistake was removing them from the heat too quickly. I lost them all.

So here we are. It's 2018 and I have goals and aspirations. I want to raise a forest of banyans and bodhis.

First things first: SOIL. Oh yes start the controversy.

I am going to grow these seeds in a plastic shoe box. There will be zero drainage.
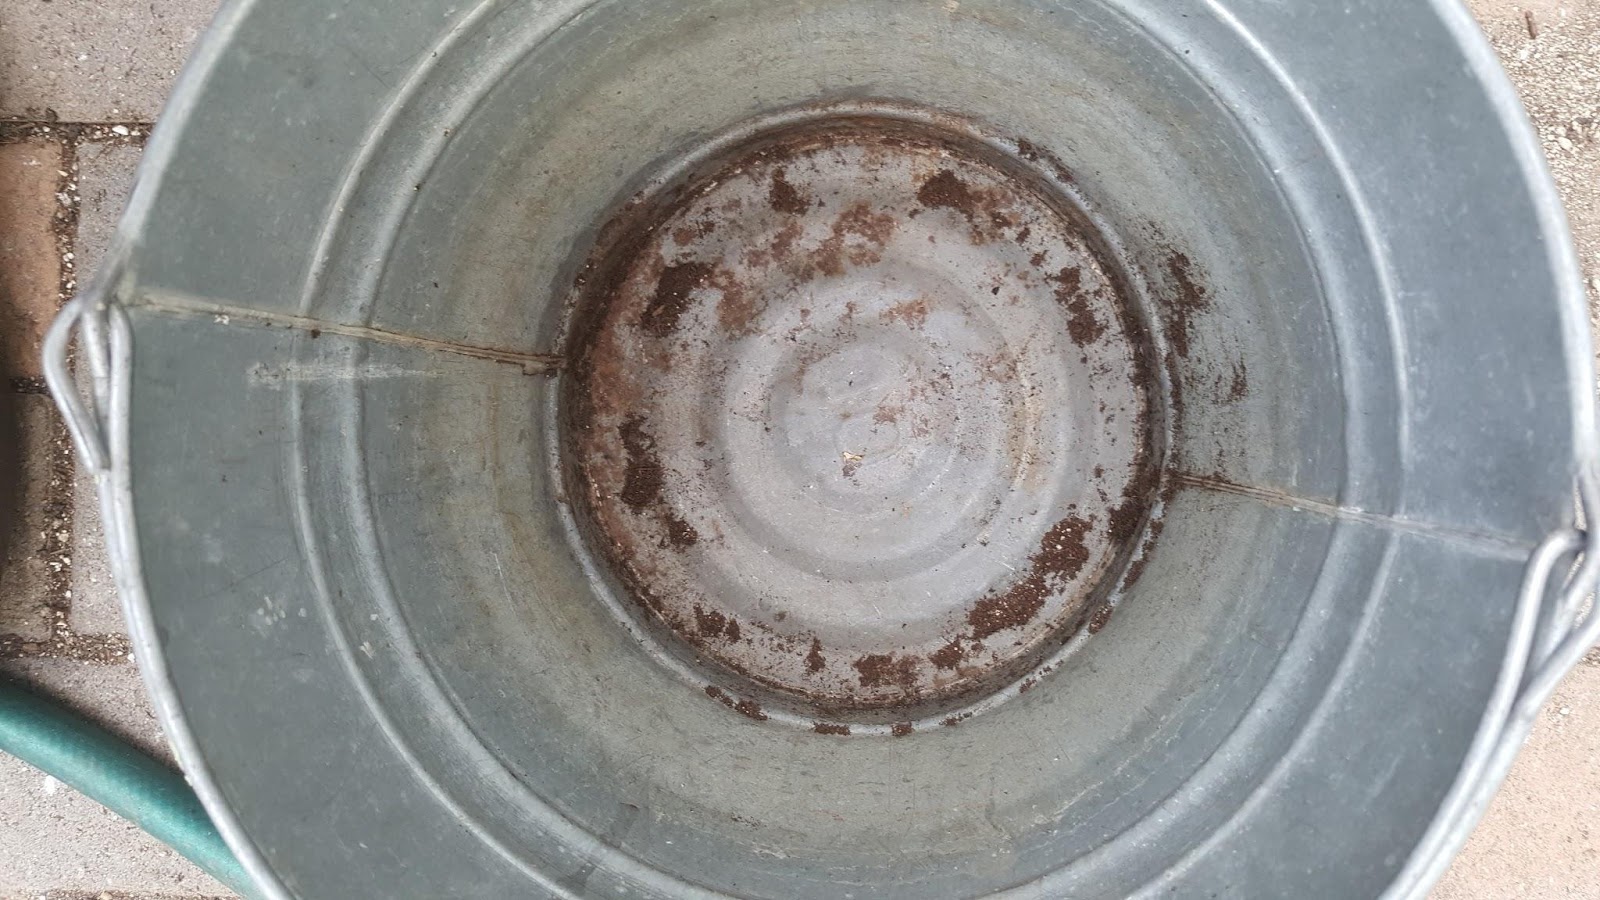

I started with good ole peat.
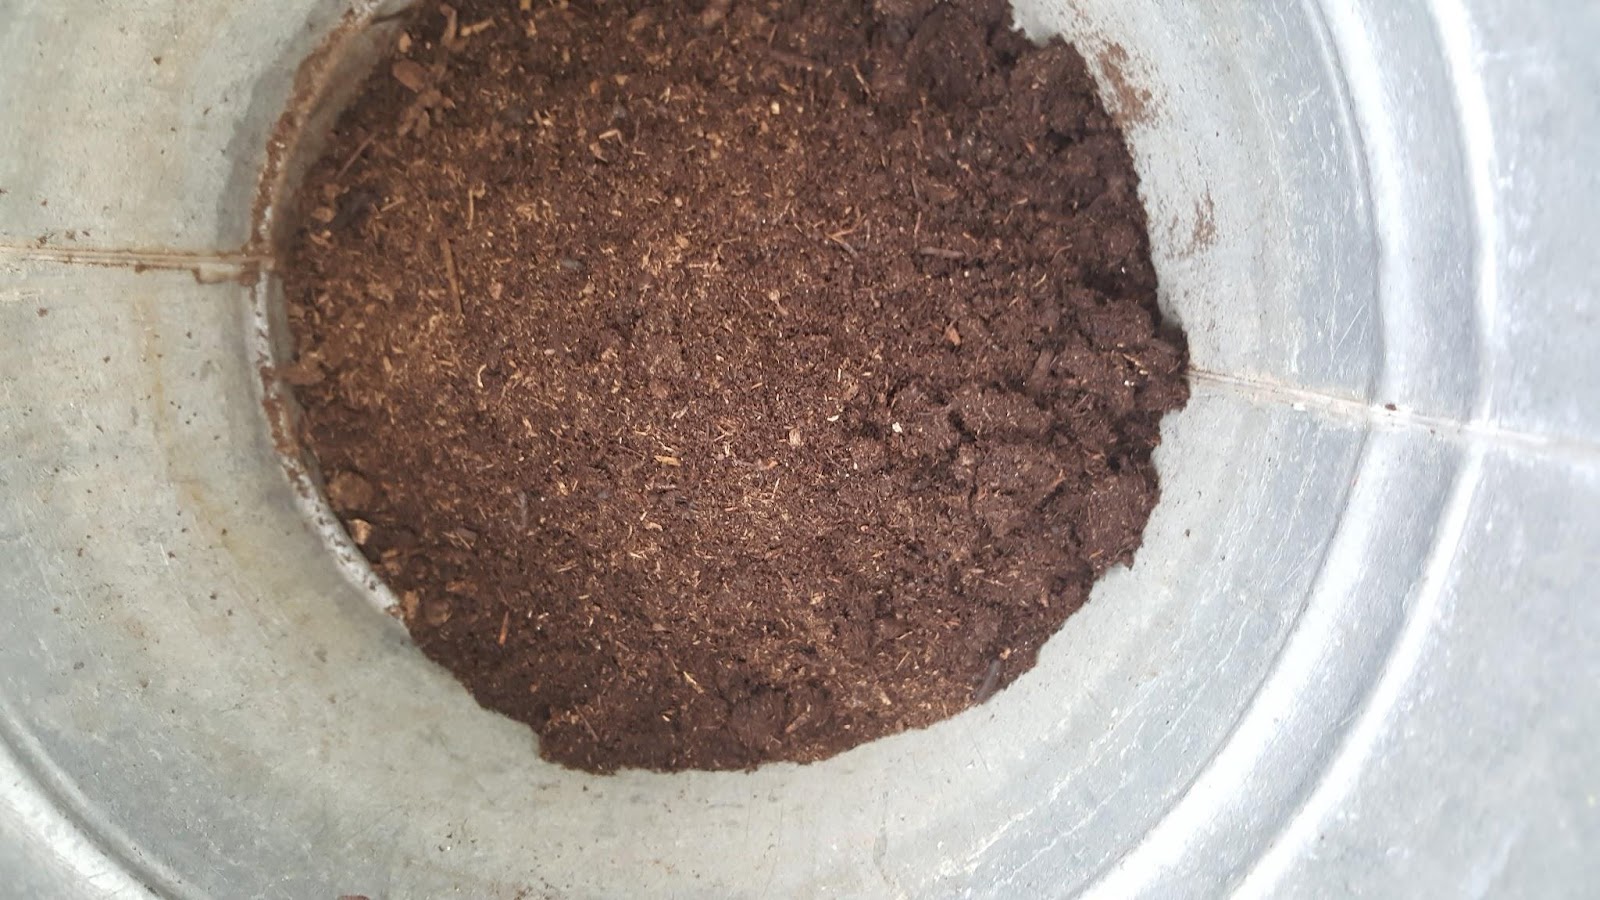


I added vermiculite for texture.
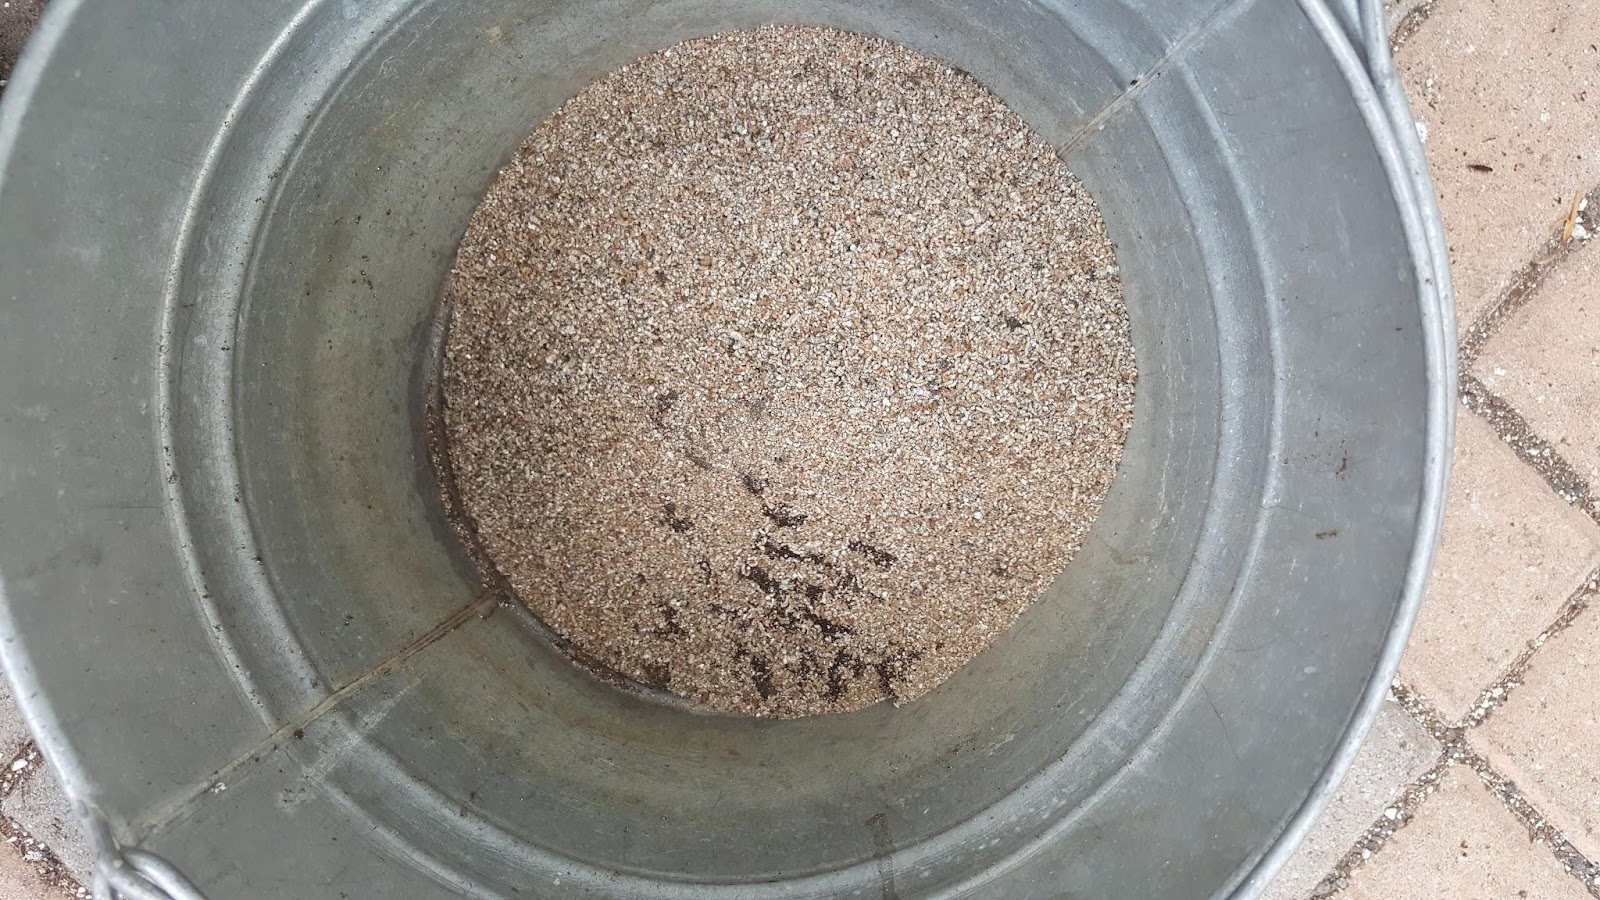


Then I added fine volcanic cinder for more texture.
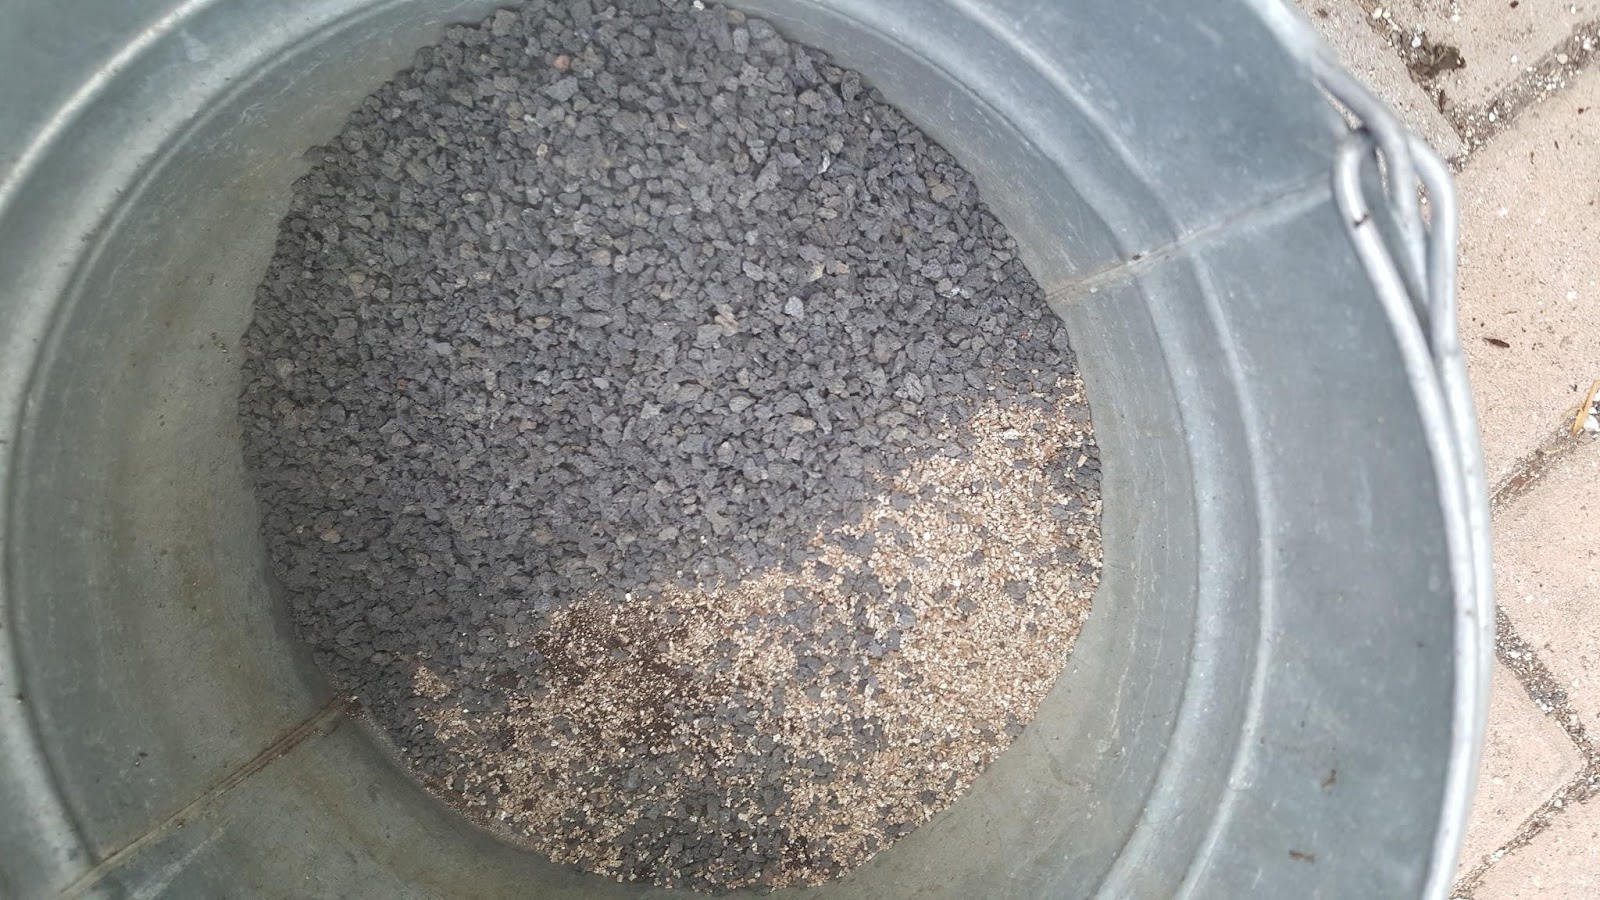
I mixed it all very well. Then I got my shoe box. I chose this to keep humidity high, but I will have to monitor moisture levels. Because there is no drainage I will have to mist.
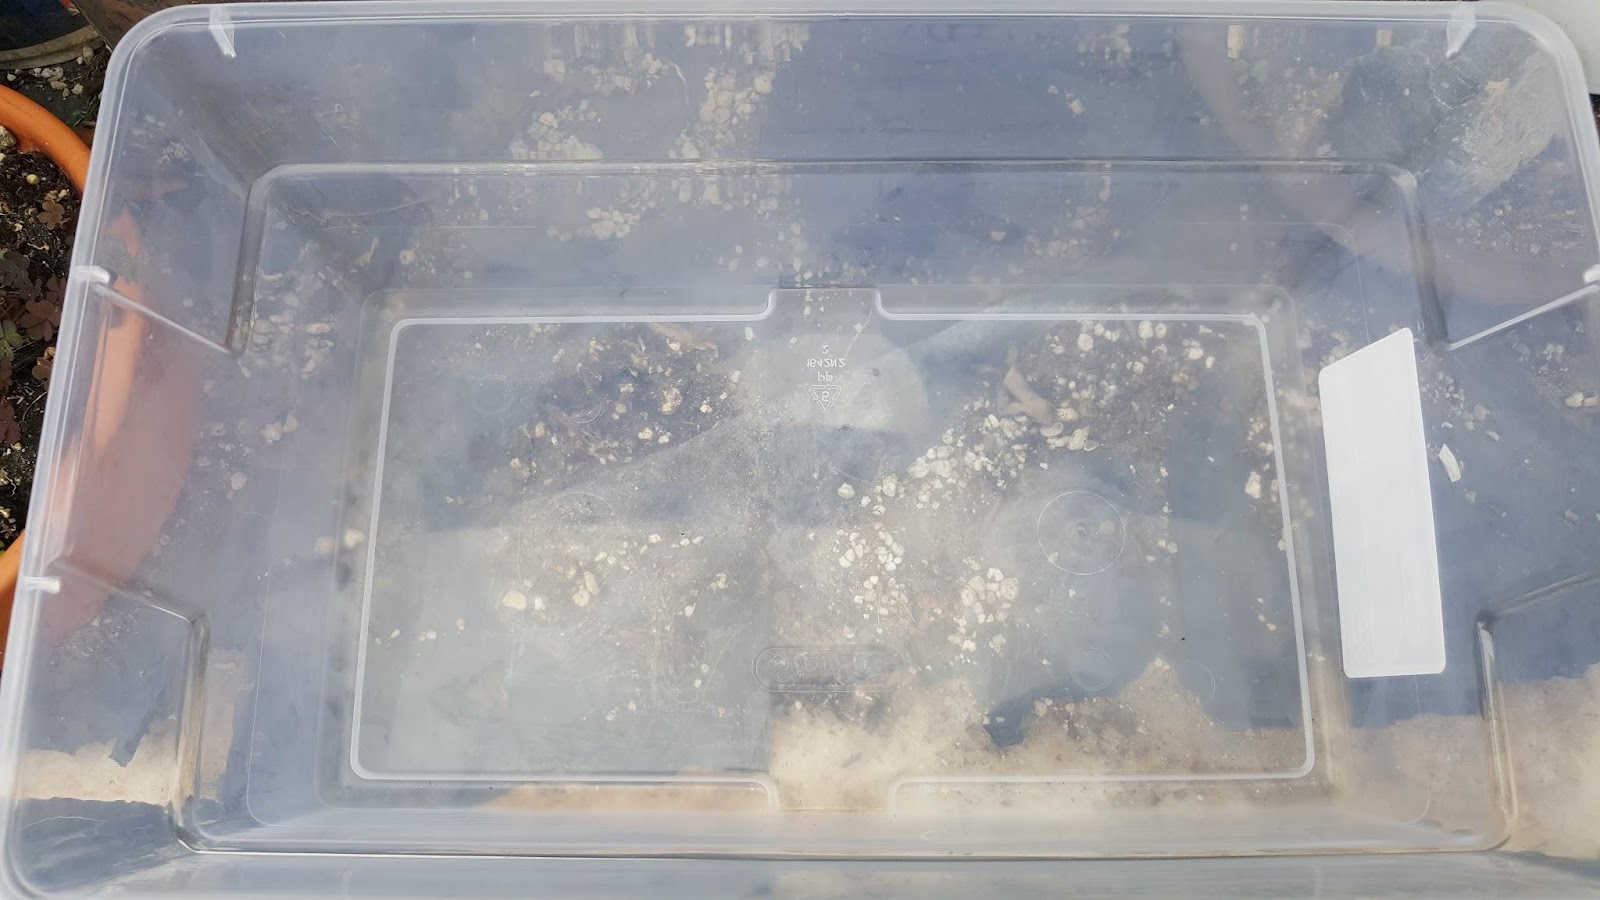


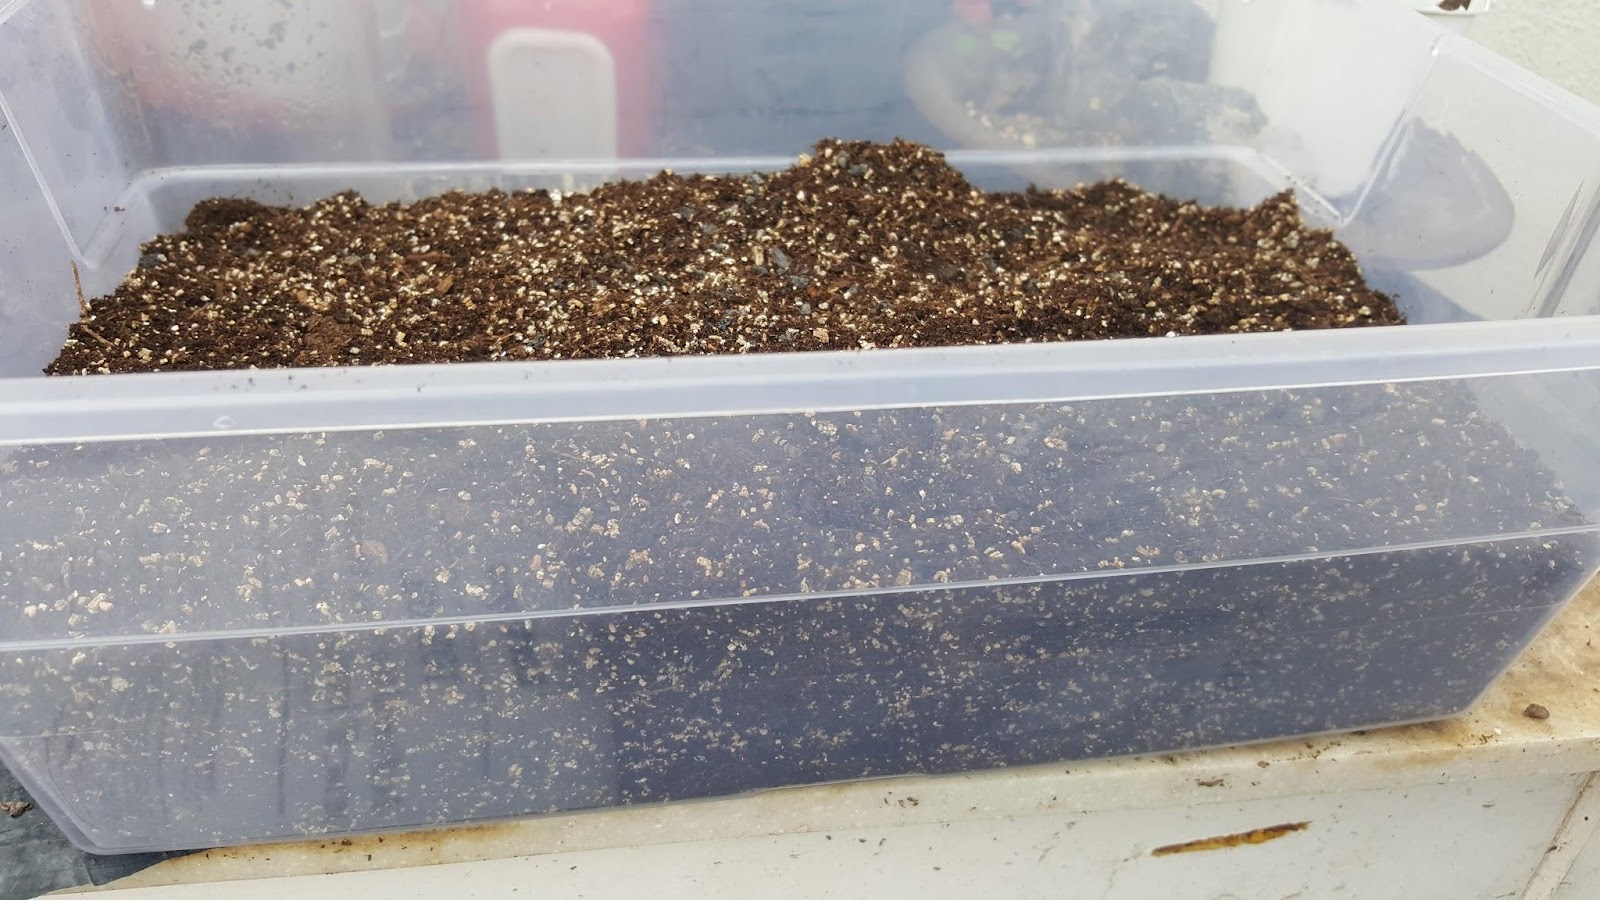
Here is the box with the soil in it.

These are the seeds.
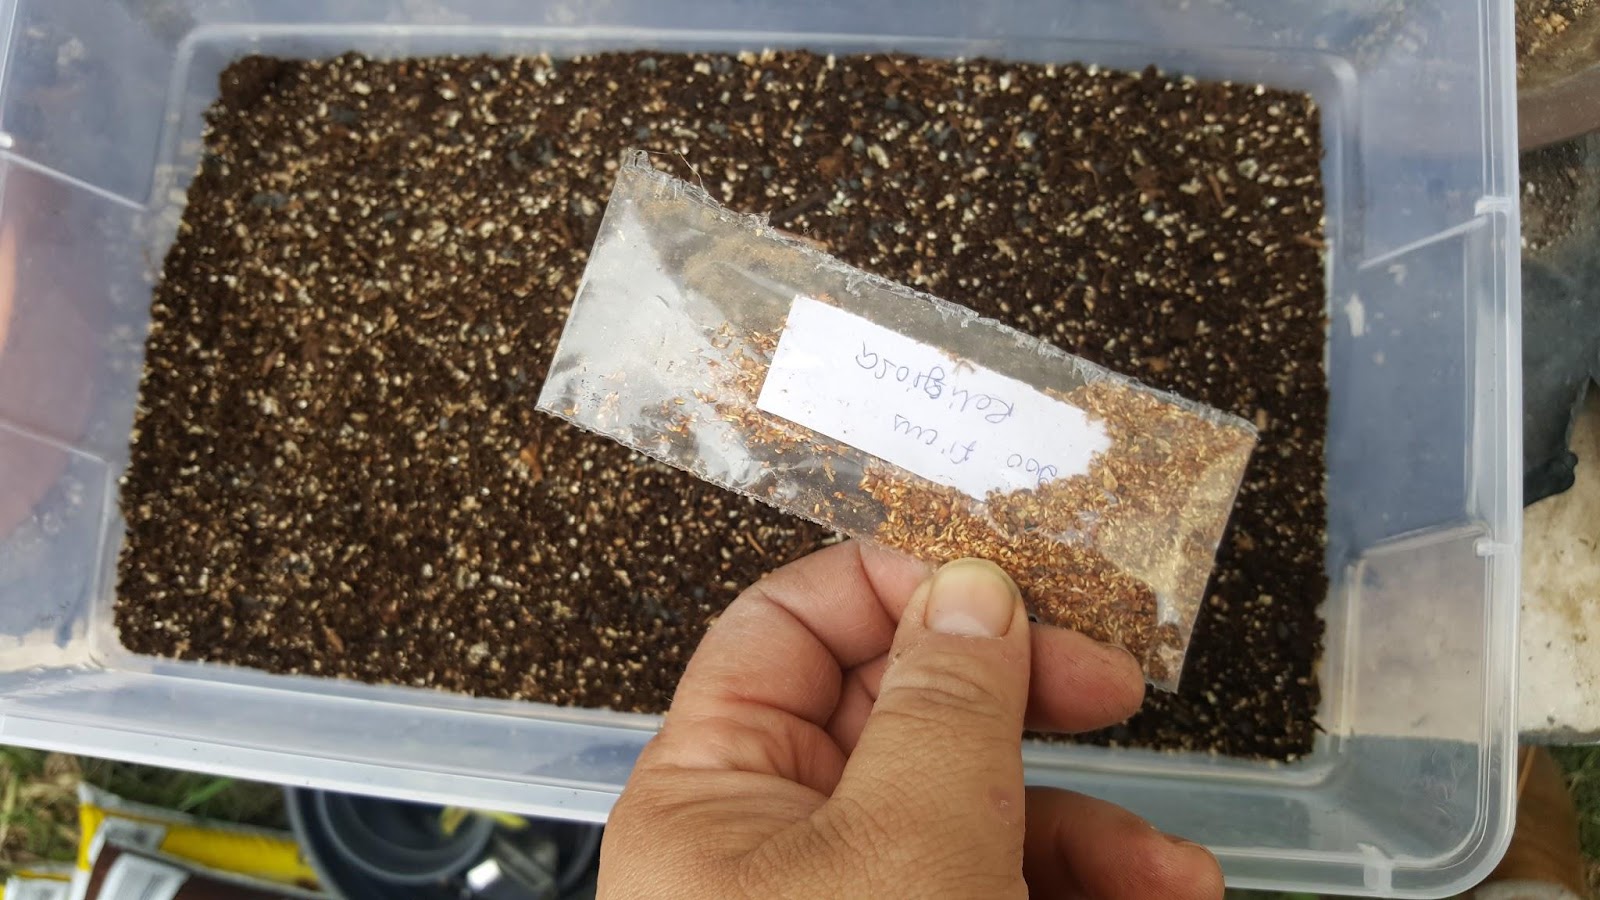


Here are the seeds on top of the soil.
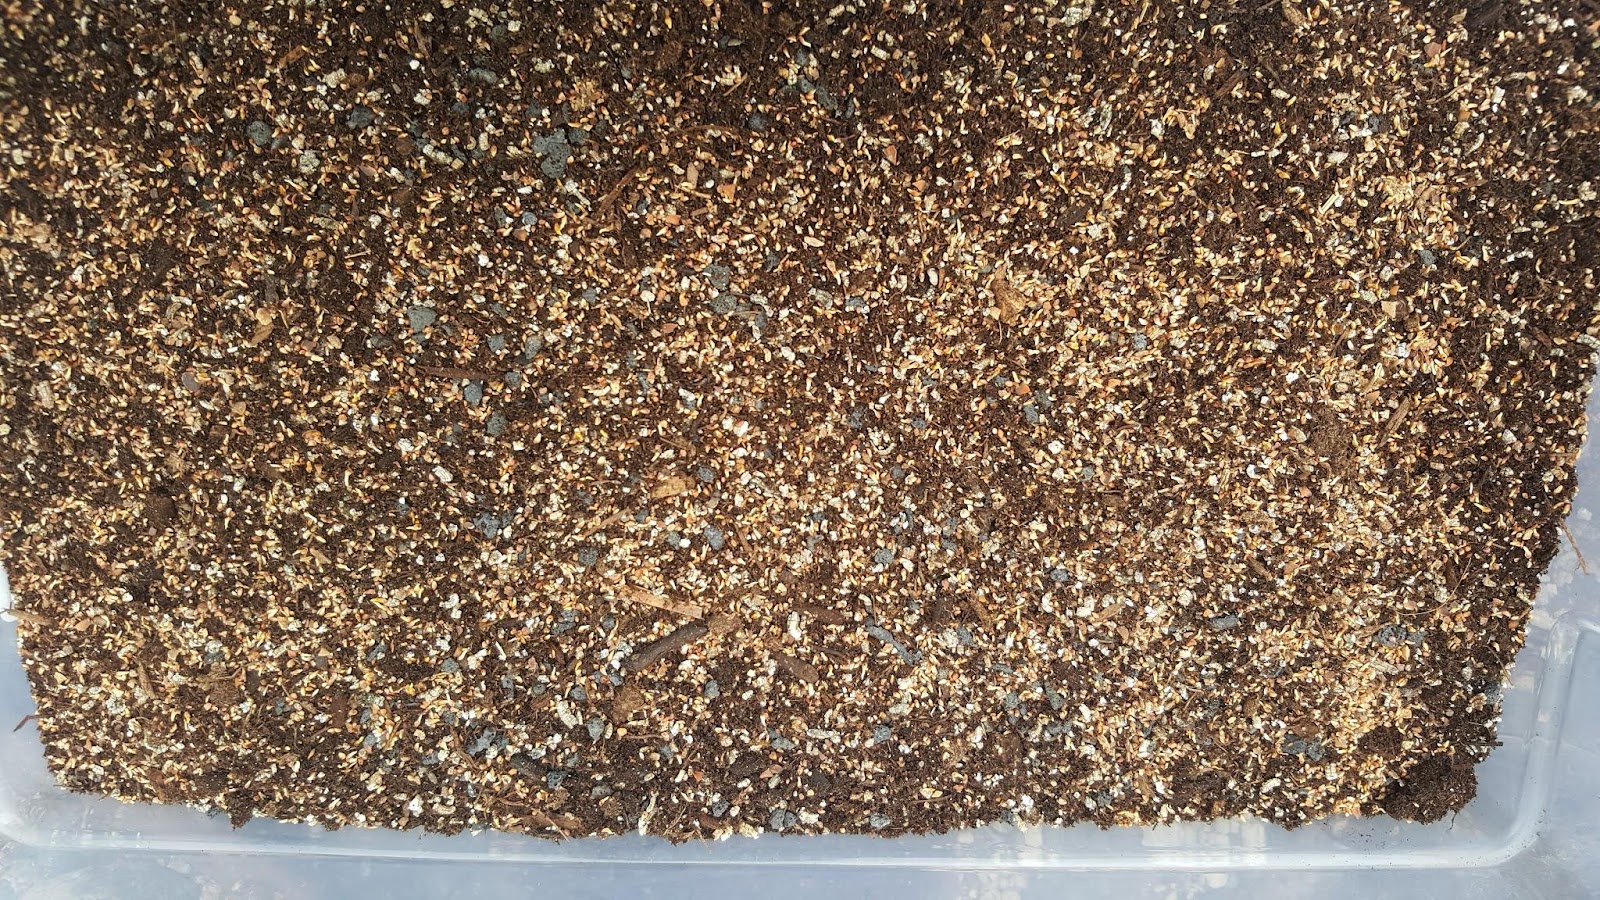


And here is the first misting.
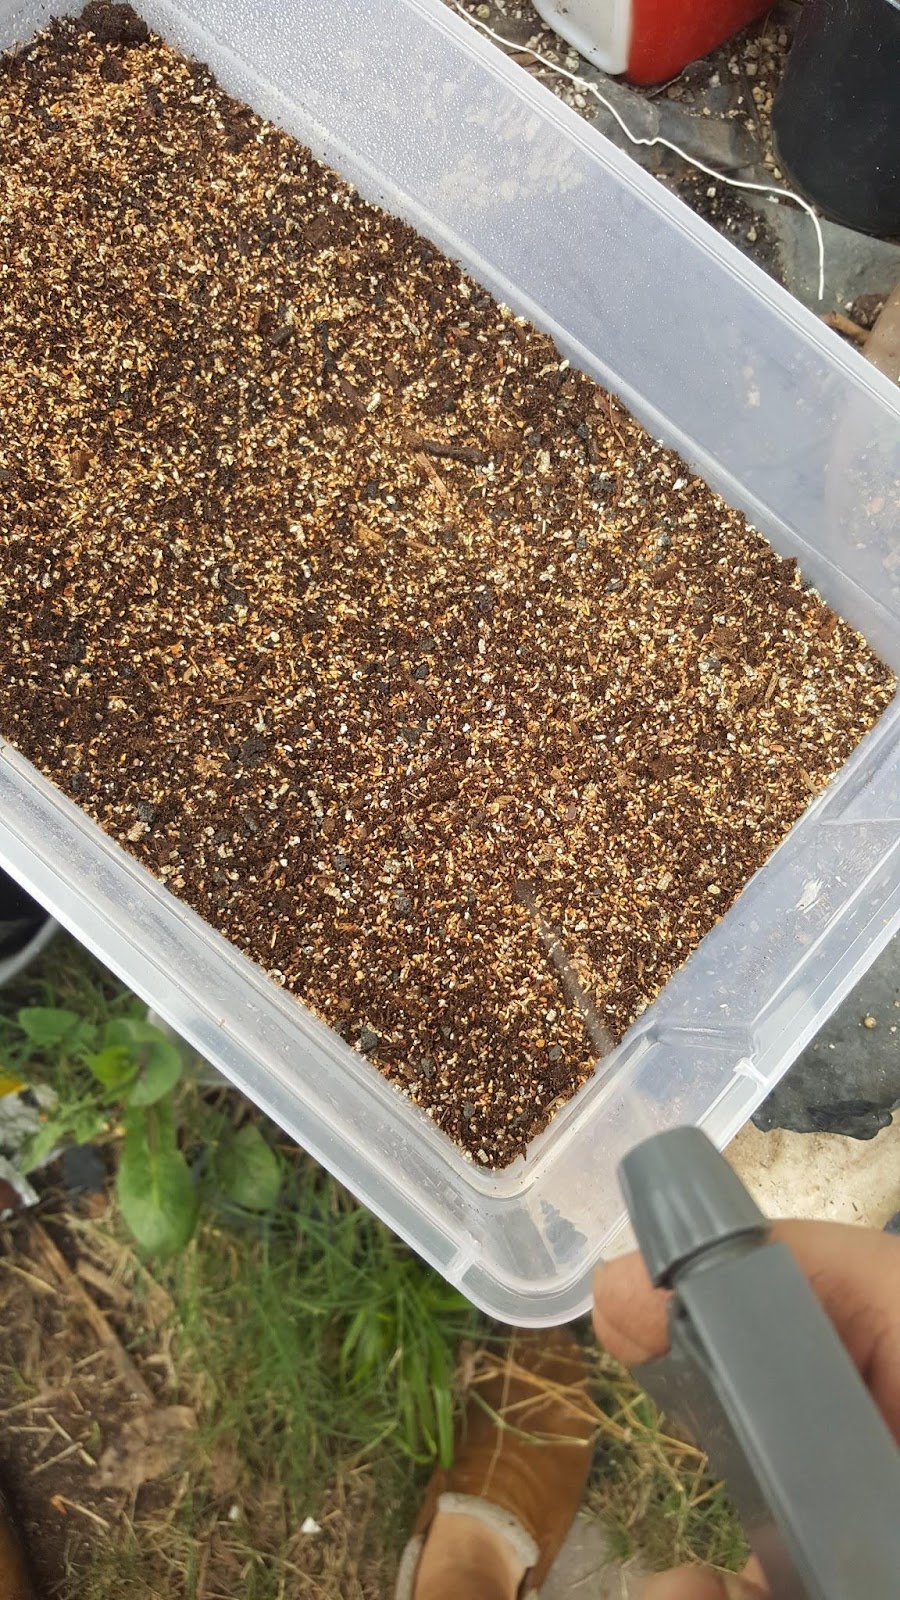


Los Angeles is to cold for germinating tropical ficus seeds. so I got this:
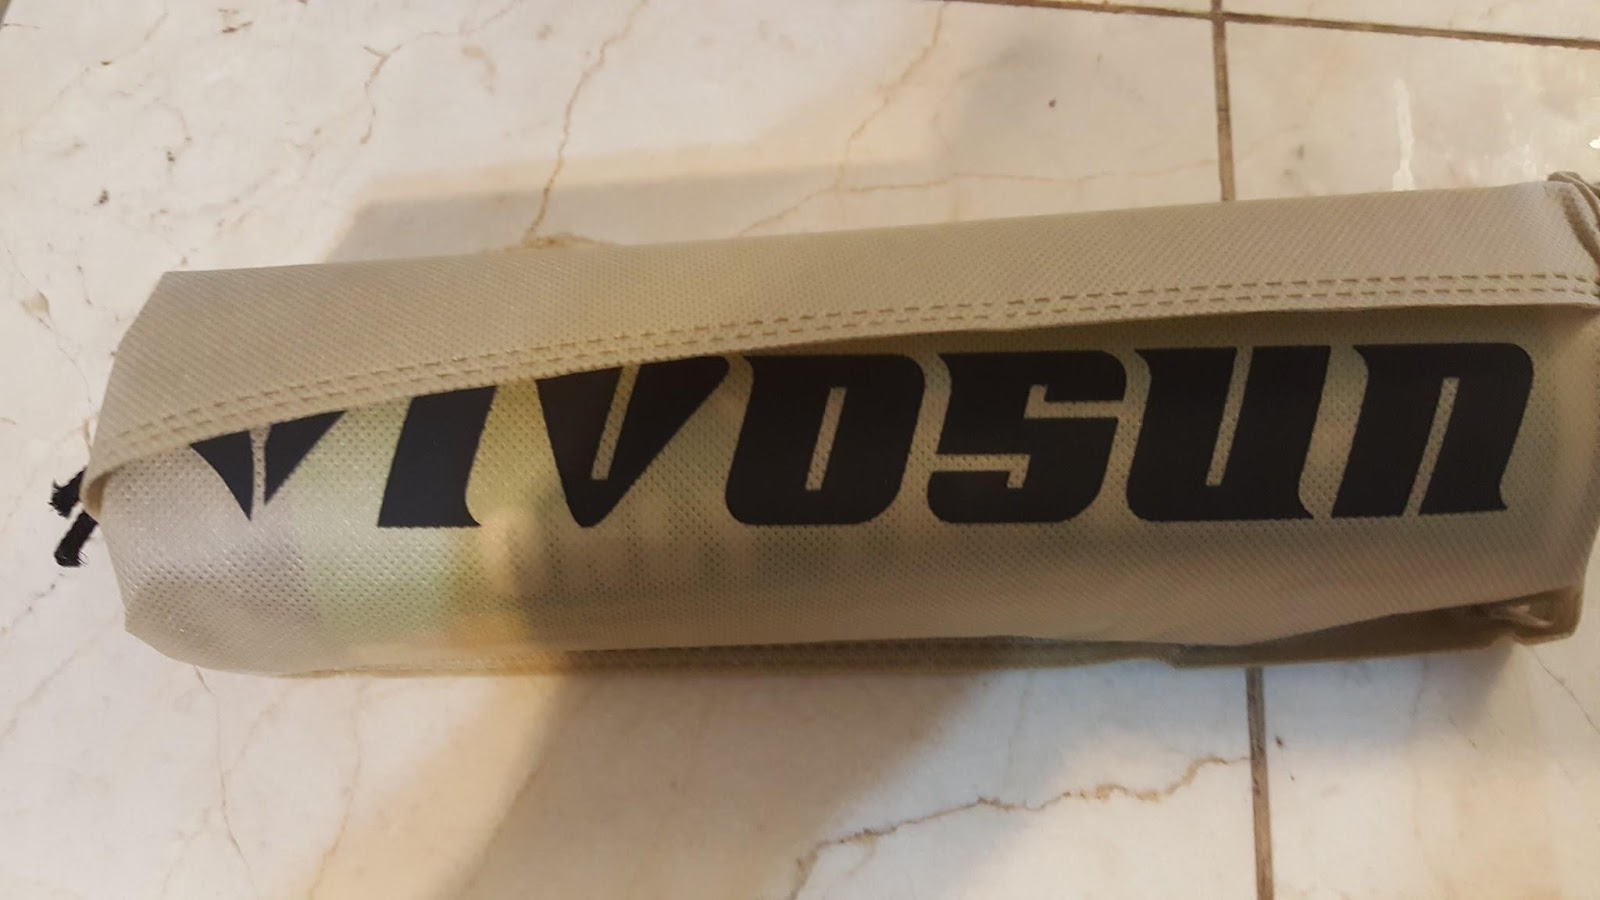

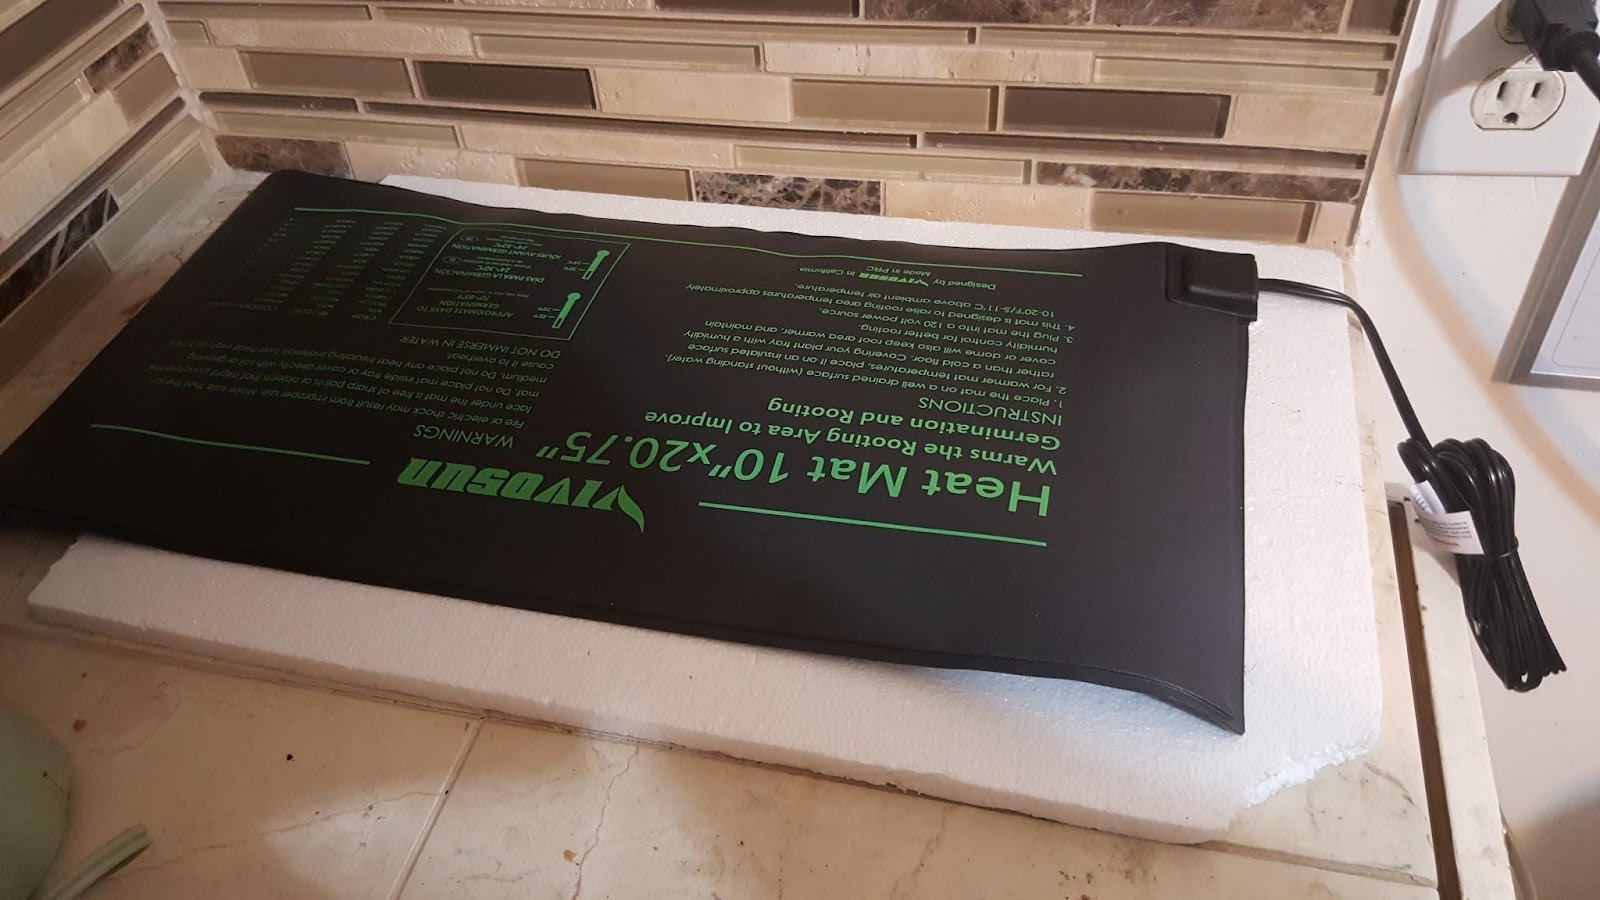
I bought this heat pad to boost the temp. It was setup in a corner of the kitchen. A Styrofoam sheet was placed underneath to conserve heat.


I pushed it and forced three shoe boxes on the heating pad.
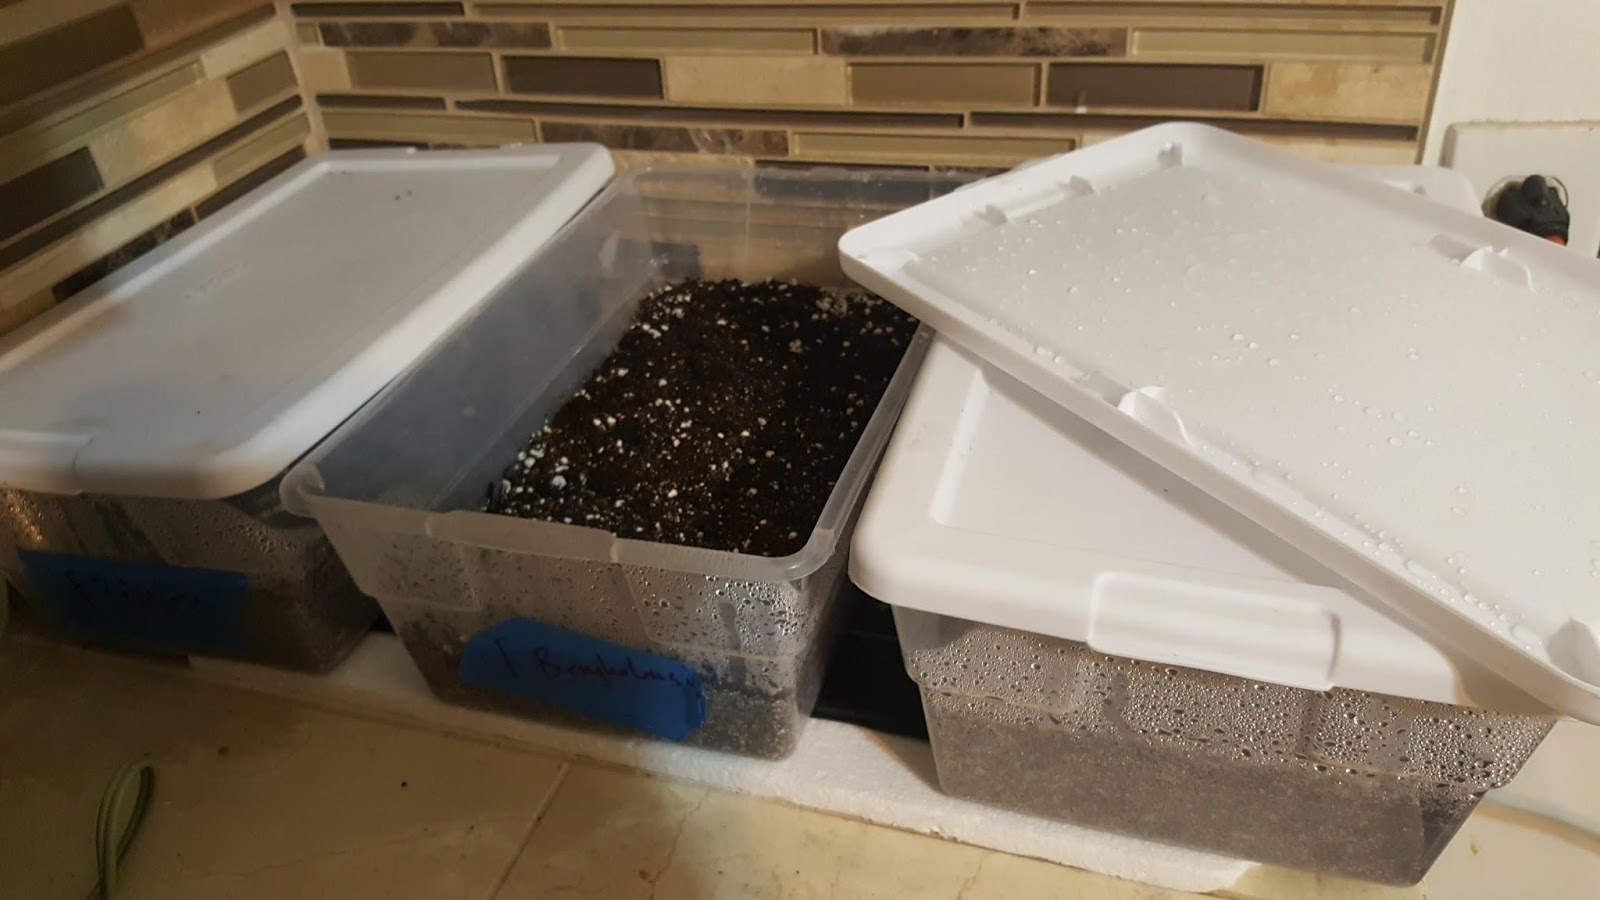


Three days after the setup was completed I was pondering on whether the seeds needed UV to germinate. I went to check the boxes and discovered a lone plant growing. I thought that it might be a weed, though the leaves did look like a ficus (looked like most dicotyleodn sprouts).
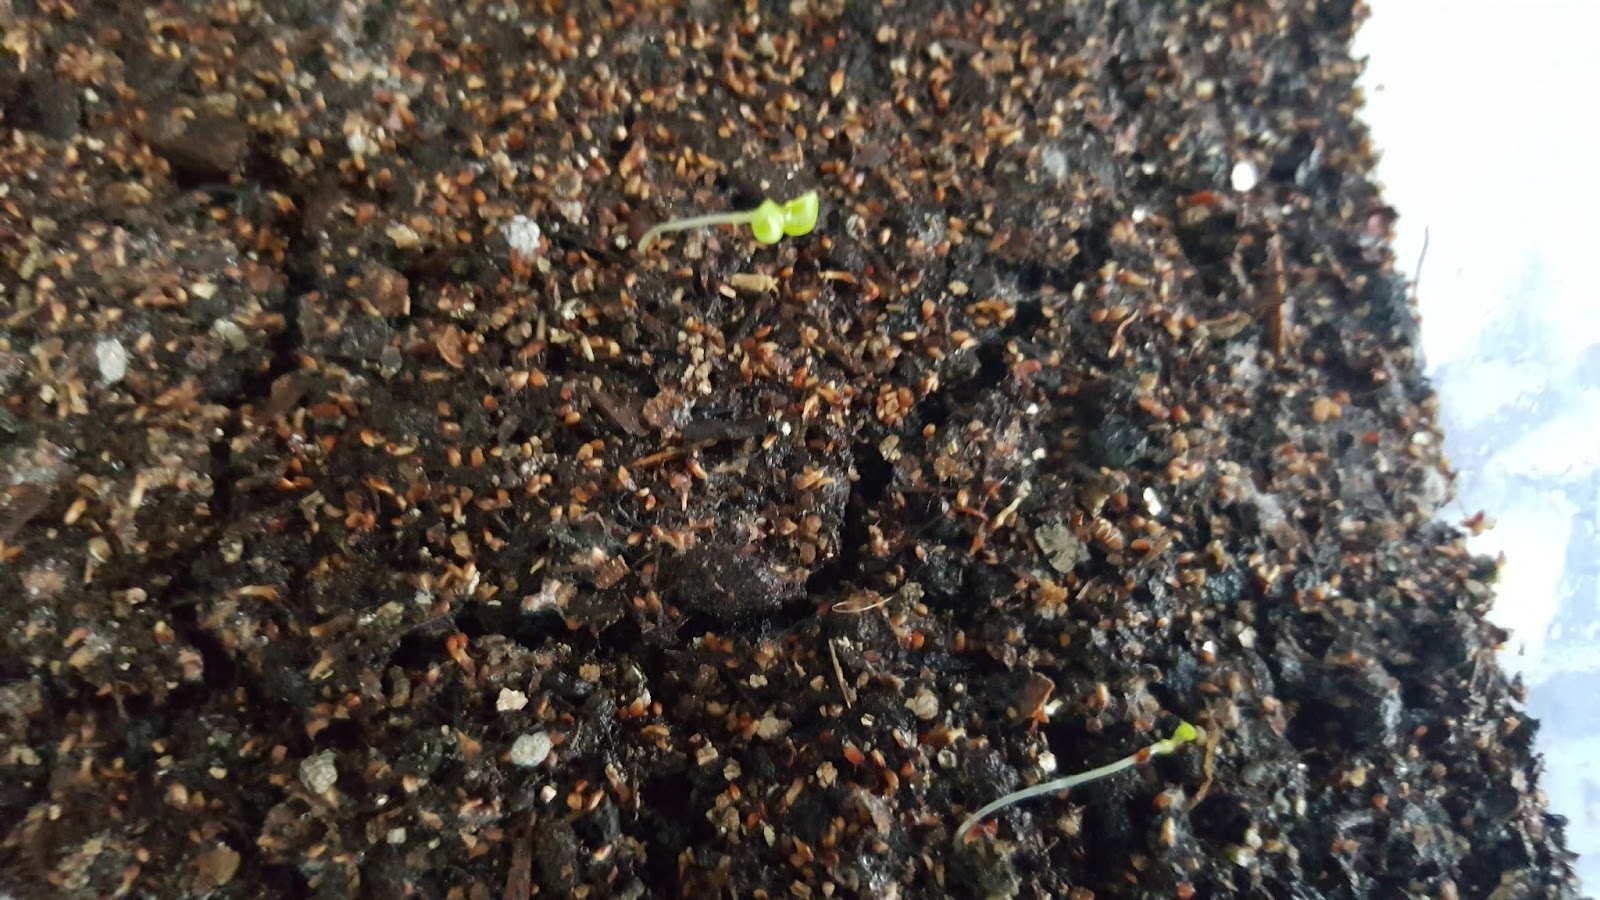
peepel bodhi seedling


Then I noticed it wasn't alone, and that there was a very small one that was just the size of ficus seeds. I was satisfied.
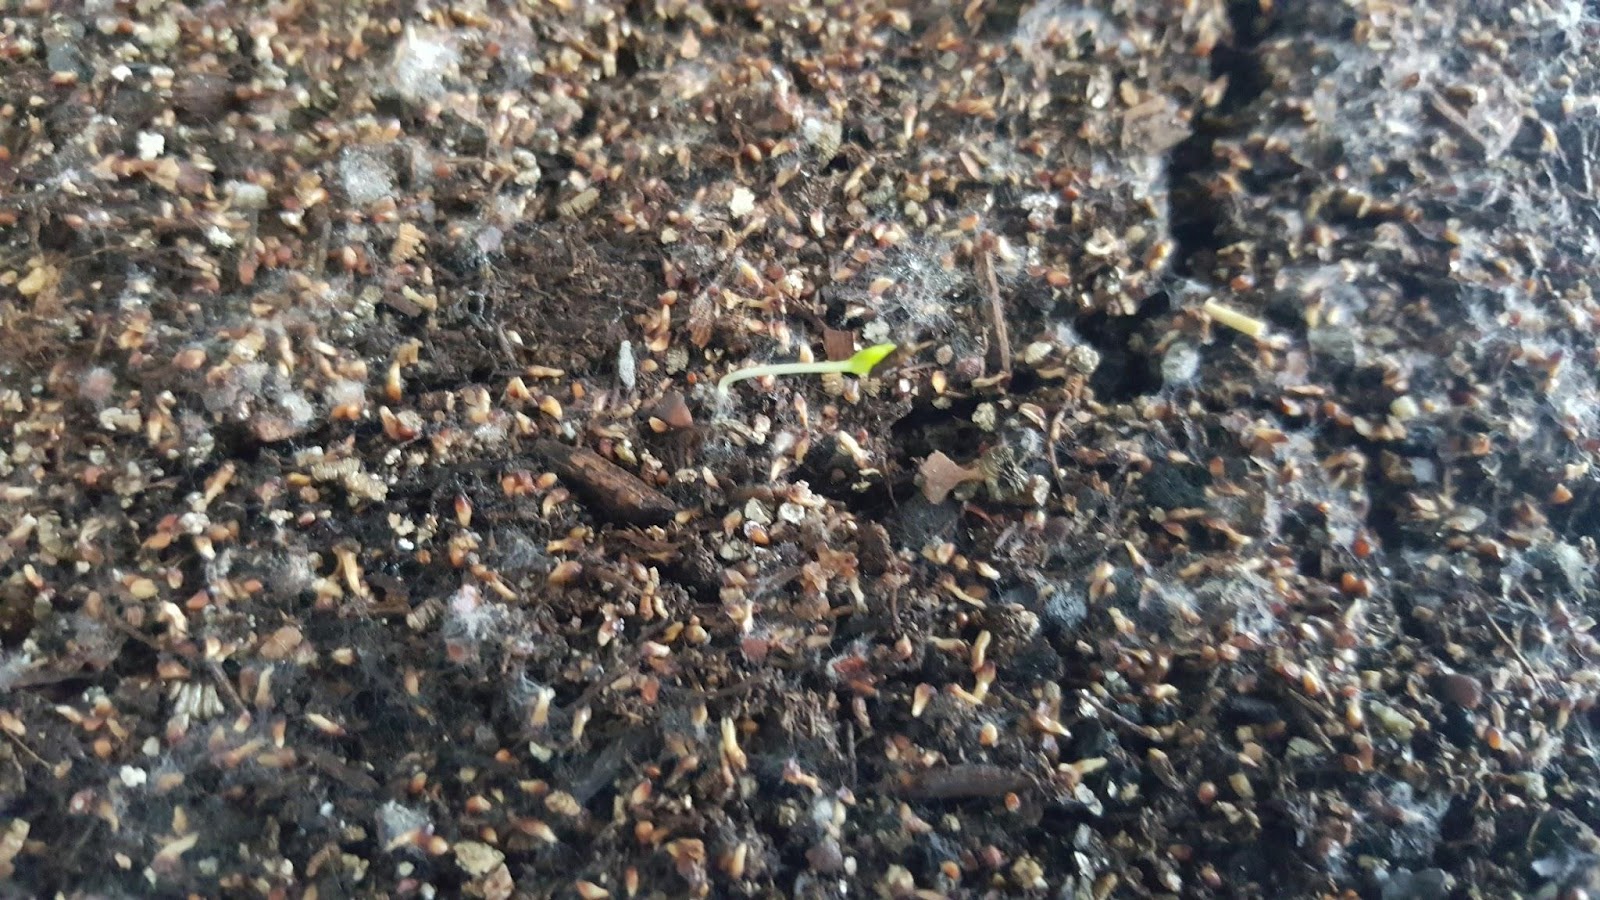
peepel bodhi seedling

I have been obsessing about Indian Banyan since I started my bonasi journey. I am satisfied with my experiment up to this point. Cheers.

Wednesday, May 18, 2016

Desert rose, succulent bonsai. adenium obesum

Hello my friends. As bonsai has become popular the quest to make many different plant species into bonsai has also become popular. The pursuit of bonsai has led many away from the realm of woody plants into succulents. Many of you already know this, and to others this may be very surprising.  A very popular tree to use a s succulent is the Crassula or jade tree. I have no experience with those. I do have a desert rose though.

desert rose bonsai


adenium obesum is native to sub Saharan Africa. Its range extends to parts of Arabia. It loves warm sunny places and can tolerate drought. One thing of note is that if the temperature drops below 50F then it will lose its leaves.


Some people love the flowers on this plant. Some varieties do produce amazing colors. I however dislike the flowers as they remind me of Oleander. That is probably so because both plants are in the dog bane family. What I find so pleasing about this plant is that it has an incredible trunk and exposed roots, it is fairly simple to maintain healthy, It has incredible growth rate, and it is easy to clip and grow.


The trunk of this tree is like a barrel. It will be thick and if it is pruned correctly it can have a very nice taper. It will grow roots from the side of the trunk. These roots will also grow and thicken giving the plant nice character.


 I found baby adenium obesum at a big box store. They could not have been bigger than four inches. I bought one for myself and one for my mother in law. My mother in law loves plants. I potted my desert rose in turface and volcanic sand. She potted her plant in potting soil. In two months my plant had grown nice branches . Hers had rotted away. I kept my tree moist in my potting mixture. She had kept her plant wet. I water my desert rose everyday during spring and summer months and it has grown exponentially. The key is to keep it in medium that stays moist but not wet. Turface is great for this (see: http://bonsai-misadventures.blogspot.com/2016/03/bonsai-soil-medium-plethora-of-choices.html).


During the spring and summer months I fertilize with liquid fertilizer every week to every two weeks. It's amazing, three days after applying fertilizer you can see the new growth.  Since I bought my plant last year it has tripled in size.


Even though I don't especially like the flowers when the tree is covered in flowers it does look pleasing. I have Not had any flowers on my tree. Perhaps this is so because it is a young tree. Moreover, I believe that the flowers have not grown because of my clip and grow method. Desert rose can grow long branches. They are not really branches like a tree. They are fleshy fingers that grow out. These fingers can grow long. I cut them down to the size i like to keep the foliage closer to the trunk. I usually cut under the node. I have found that if you cut above the node the new branch will grow on the top most node  and take the place of the piece that was removed. No new branches will grow. Cutting under the node will promote branches growing from the rest of the branch.


I have re potted the plant once in a year because the growth rate was incredible. I have placed the tree in a pot that is a little too big so that it has plenty of room to grow this next year. I think I will try growing a few from seed just for fun. Cheers.  


Tuesday, March 29, 2016

Time, what is it good for?

It's all around us but we never have enough of it. Time, the first and most important lesson in bonsai. Some people do talk about time and patience. However, time is the common denominator in all bonsai. Time is the most important ingredient in making a bonsai. Do what we do to speed things up we can not make a plant grow two seasons worth of growth in one season.
  
My wife (I apologize for using you as an example) loves bonsai. If she did not I would have to find another hobby. Whenever we bought plants she would want to pot those plants right away. There would be no growth, no refinement. I understand what she was doing. I am guilty of doing it too. However, I came to realize that by potting plants before they were developed somewhat I was stunting their growth. Now, it would take even longer to have a bonsai with some refinement.


Juniperus californica
California Juniper, It's probably more than a hundred years old
If you want to become a master at anything you have to dedicate time to it. You have to sacrifice countless hours training your muscles and mind to do what you want them to do. There is a dichotomy with bonsai. A bonsai has to be worked on and manipulated. There is pruning, wiring, and fertilizing. We have to apply our time to develop the tree. Then there's the part where you give the tree time to grow. The tree has to grow new branches, new leaves, and more roots. That part also takes time. Not doing anything and letting the plant just grow might be the hardest thing for a neophyte bonsaiphile. Although, some trees don't need as much time as others. Then there is the time of rest. That time there is no growth.


I submit to you that the only way to master time is to subjugate to it. In other words, understand that time is not something that we can control. We can not rush time. We can not make a tree grow faster than it does. When we accept that, then and only then can we begin to develop all the other skills needed for growing bonsai.

I was once asked how a trunk could be thickened. The short answer is time. Cheers.   

Wednesday, March 16, 2016

Azaleas, the T-1000 of bonsai plants

Azaleas are great looking shrubs. Most azaleas have smaller elliptical leaves. They are easy to grow, and they have beautiful flowers. When refined the whole tree will be covered in flowers. One of the great things about azaleas is that they can be kept indoors. Azaleas grow naturally in Asia and North America. The blooms come in almost all colors, and they can look amazingly Delicate. Azaleas themselves are very hardy plants. They like partial sun, acidic soil, and moist conditions. Some azaleas can tolerate cold, but most come from subtropical and tropical places.

I love working with azaleas. They can take a beating and even seem to thrive on abuse. Azaleas can grow new branches from anyplace that has bark. That means you can get new branches on the trunks, and other branches. Many trees can not do that, and that presents a challenge if an important branch dies. Azaleas however, do not respond well to severe root pruning.

When I bought this azalea It was a huge topiary. It measured two feet from the lip of the pot. The trunk was nice and thick. First I thinned it out. I left the branches long, but I left two secondary branches where there were multiple growing from the same place. In August when I saw new growth I hard pruned it. I cut all the branches to five inches from the trunk. The azalea started to grow new branches. By the time of this writing (mid March) I have pruned the azalea two more times to shape and start ramification.    


I placed my hand for perspective


Close up of the trunk

Great bonsais can be made from big box stock. Make sure it has one trunk. This one I left alone for a year. I cut three branches growing from the trunk and gave it some form. You can see the wounds in the picture. They will heal fairly quickly.

Big box store azalea

One thing to keep in mind is that the branches are brittle. You can do some manipulation, but you must be careful. This azaleas is my daughter’s. I was helping bend a branch down. Can you guess which side of the tree I snapped the branch off of? The worst part is that it was the second time I broke a big branch on her azalea.  

Watch out for brittle branches

In Japan the prized azaleas are called satsuki. Satsuki is the word for the month of May. These azaleas bloom in that month. However, there are so many hybrids and varieties that you could fill your collection of bonsai with azalea and you would not repeat yourself. Cheers.

Update October 4

I can not tell you how many times I have pruned this azalea since I posted about it. I'll start by showing you the trunk.


I bought this tree because i really liked the trunk. It was a topiary bush I found at a big box store. I got it after the flowers had fallen off at the end of the season. This is what the plant looks like now.


The primary branches have grown. Next season I will cut it back about one third the size and let the secondary branches grow. 


Thursday, March 10, 2016

Great bonsai book, for beginners and everybody else

Bonsai the Art of Growing and Keeping Miniature Trees buy Peter Chan. This is one of the best books for beginners that I have read. This book covers everything from the history of bonsai all the way to preparing for shows and the international bonsai scene. This is not one of those coffee table books with lots of pictures of bonsai but little information. this is an actual book that can teach you fundamentals that other books don't cover.

Peter Chan talks about Horticultural principles like growing trees from seeds, and even Grafting. he tells you how to do it and how difficult it may be. One of the best chapters was on Art Theory. He says that bonsai are living sculptures. he talks about many artistic Concepts that are applied to bonsai. When I would look up YouTube videos in which bonsai professionals would wire branches. I would wonder what their train of thought was. I would wonder how they made their decisions. In this book Peter Chan explains many fundamentals of bonsai design.

What I'm trying to say is that if this book removes all the mystery of how to make a bonsai. Now I'm not saying that he explains every technical or Horticultural detail butt it is a great book for beginners.

One chapter that I have never seen any other book is on how to judge bonsai in a show. He breaks down the different parts of judging and how many points should be awarded. All the mystery is gone.

If I had read this book when I started making bonsai trees I would have avoided much confusion. I had the desire to make Bonsai but not the knowledge and watching YouTube videos was not enough. There are a great many technical books out there for making Bonsai but for the beginner I highly recommend this one. Cheers.

Publisher    Skyhorse Publishing
Publication date    May 6, 2014
Language    English
Product Dimensions    0.5 x 8.2 x 10.5 inches
Shipping Weight    1.9 pounds
Book length    176
ISBN-10    1629141682
ISBN-13    978-1629141688

Wednesday, March 2, 2016

Grow a fig tree from seed, Moreton bay ficus, Ficus macrophylla

Disclaimer: the Moreton bay fig tree should not be planted in the ground. This tree is very aggressive and its roots can cause a lot of damage. Santa Barbara has a huge one: https://en.m.wikipedia.org/wiki/Moreton_Bay_Fig_Tree_(Santa_Barbara,_California). I won't let it get that big you say? The roots of young trees damage pipes, concrete, etc. Do not risk it unless you have half an acre of land you want to donate to a future giant. Ficus macrophylla is a banyan ficus which means that they grow as epiphytes on other trees. Figs need fig wasps to reproduce. what happens is that the tree produces a little ball with a hole in it. then a pregnant wasp comes in and lays its eggs. When the wasp pushes her way in the fig it pollinates the new fig. There's another kind of fig wasp that comes and lays eggs and they eat the first kind of wasp. so if you love eating FIGS this is the way that figs get pollinated, because if you ever notice a fig doesn't have flowers on the tree. All the flowers are on the inside of that little ball.

This is the tree that I collected the figs from. Most of the figs are not ripe, but by next week the floors are going to be littered with purple little balls. I found a handful of ripe Figs. Birds love to eat these figs. last year I tasted it and it tastes almost exactly like the figs that we normally eat. However, they are dry, have big hard seeds. They are not really for human consumption unless you have nothing else to eat.


The place where I work opened in 1905. I don't believe that this fig is that old because the one in Santa Barbara is huge in its maybe 15 years older than where I work. So, maybe this one was planted in the forties or fifties.


Here you can see the typical look of the Moreton Bay fig with the spear-like leaves and tight clusters of figs.


I only found a few figs on the floor. Most of them are still green. These were probably knocked down by birds from the canopy of the tree. 


This is all I found at this moment but next week I'll be stepping on hundreds of them.


Here's a close-up of a Moreton Bay Fig. I think it's quite beautiful.


What you need to do to separate the seeds from the flesh. Get a bottle with a lid, some hydrogen peroxide, and then later we'll be adding some water. The hydrogen peroxide that they sell at the pharmacy is pretty weak but its strong enough to break some of the sugars into water and carbon dioxide. 


So, first split the figs in half and then scoop out the flesh and seeds and put them inside the bottle.


This is where you add the hydrogen peroxide. you are going to add enough to make a soft slurry. Close the bottle up and shake as hard as you can. The key is to separate all the fleshy stuff and the sugars from the seeds.


After you shake the hydrogen peroxide add plenty of water. After you add the water pour some of it out, keep adding water until it becomes nice and clear. All the good seeds will have sunk to the bottom so don't worry about losing any of the good seeds unless you pour out all the water. 


For the potting mix, I used potting soil mixed with about 40% sand. A mistake that I made last year which led to me losing all of my seedlings was that I planted them in a super shallow container. Maybe it was an inch or an inch and a half deep. My plants had grown a good 6 inches tall. They look like a little forest, but the dirt was so shallow that the roots dried out very easily and that's how I lost them.


I poured the water with the seeds right into the soil. Some of the seeds stuck to the bottle so I had to add more water and pour it in again.


On top, I added a fine mixture of turface and sand and volcanic rock and fine organic matter.


To finish everything off I wet the pot thoroughly. then I added these bamboo skewers, I am going to put a plastic bag on it and tie it with a rubber band.  This will make a mini greenhouse that'll keep everything nice and humid and extra warm. Warmth is essential for the seeds to germinate.


That's it for preparing seeds for germination. Now all you have to do is sit back relax and keep the dirt nice and moist. Cheers.

Update: March 25  

They are here in time for Easter. 23 days after they were planted the Ficus Macrophylla popped out to greet the world. Hopefully, I will have a forest of seedlings carpeting the pot soon.


Update: May 19

The seedlings are two months old. They are much bigger and have their first pair of true leaves. 


Update: June 22

Growth continues to be steady for these seedlings

moreton bay ficus
Add caption
Update July 4

I decided that it was time to separate some of the small ficusses and let them grow individually

moreton bay fig seedling


Now we'll see how resilient ficus macrophylla is, will they survive?

Update August 10

Here are the seedlings. The trunks are lignafyjng. 


Update November 29

I finally got around to separating the ficus macrophylla seedlings. They are three months shy of a year. These are from the original planting and are not the plants I separated above. 

seedlings
Ficus Macrophylla Seedlings


moreton bay fig


The trunks are almost as thick as my pinky. That's very good growth for one year considering they grew from seed. I put each in individual pots. My plan for the ficus is to fertilize every week in the spring and every other week in the summer. Growth should be amazing. I will try growing F. benghalensis, and F. religiosa next year.

September 19/2017

I planted more seeds this year. Most pots had small ficus growing. A few pots did not. We had a heat wave a couple of weeks ago. I noticed that after the heat wave the ficus started to germinate. Warmth is definitely a factor in germinating ficus seeds. The seeds in both of these pots were planted at the same time. The heat made the seeds on the right germinate.